Raspberry Pi CCTV
A fully enclosed WiFi CCTV camera powered by the RPi.
I think it's a safe bet to assume anyone with an interest in coding, electronics or gadgets has got themselves a micro-PC such as an Arduino or a Raspberry Pi. It's probably equally as likely that after an initial play, many people were asking themselves OK now what shall I use this for. This was definitely the case for me. After using one Raspberry Pi to run XBMC (or Kodi as it is now known...) using OpenElec what could I use another one for ? ...
After a quick google, I stumbled across these (very similar) articles:
Raspberry Pi as low-cost HD surveillance camera
Raspberry Pi as low-cost HD surveillance camera
Perfect! A lightweight, WiFi enabled CCTV camera. Even better - all the required software and hardware seemed to be readily available. So let's get cracking.
Hardware
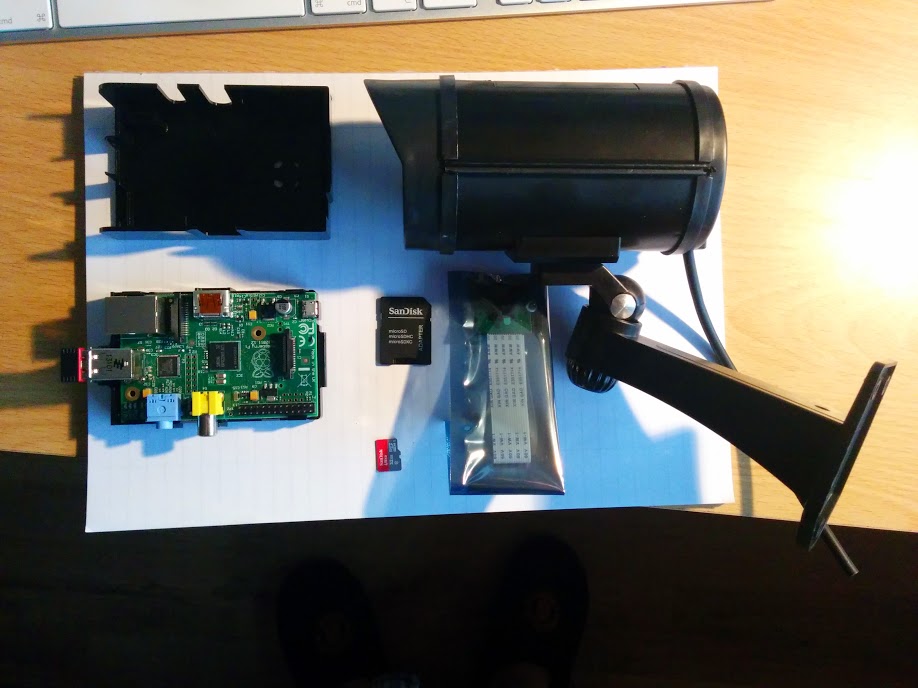
All the required hardware that I didn't already I managed to get from Amazon, which was convenient and reduced postage costs.
-
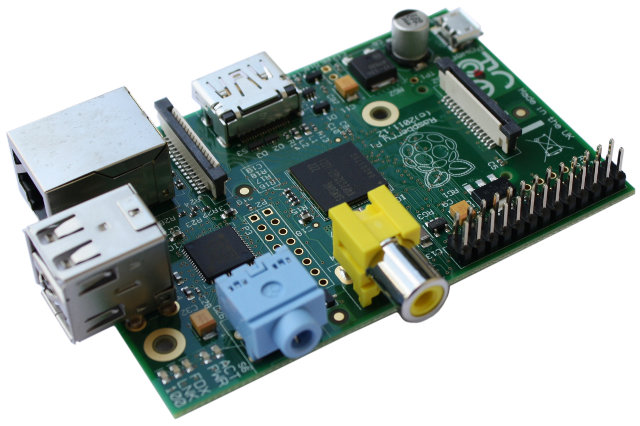
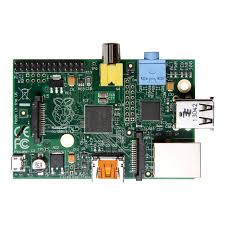
Raspberry Pi B
At the center of the operation, the Raspberry Pi (RPi). I had spare B model that (amongst other things) has fewer USB ports than the newer B+ model. This turned out to be important as the camera housing was a tight fit and the larger B+ model may have been a no go.
-
Raspberry Pi Camera Module
Second on the list is the camera module. With a 5M pixel image resolution and capability of recording 1080p video at 30 fps, this tiny module is more than sufficient for this project. The module connects directly to the board via a ribbon to the CSI port.
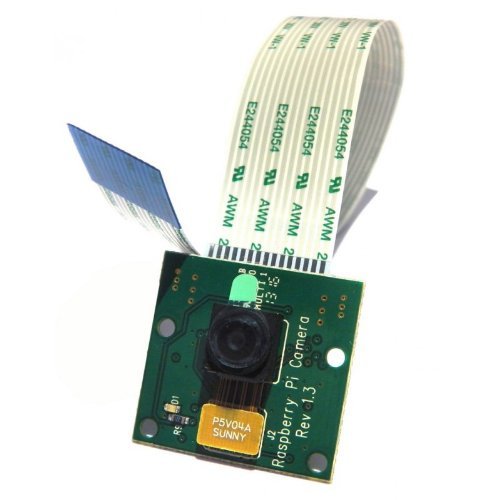
Raspberry Pi camera module. -
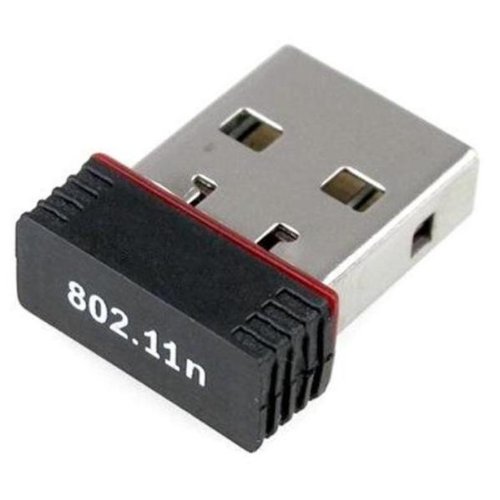
USB WiFI Adapter
There are a few USB WiFi adapters out there for the RPi. The one I went for is by NewIT. The adapter is very small - ideal for this project.
-
MicroSD/SD Card
For the operating system and local files the RPi needs storage. I opted for a 32gb micro SD with an SD adapter.

-
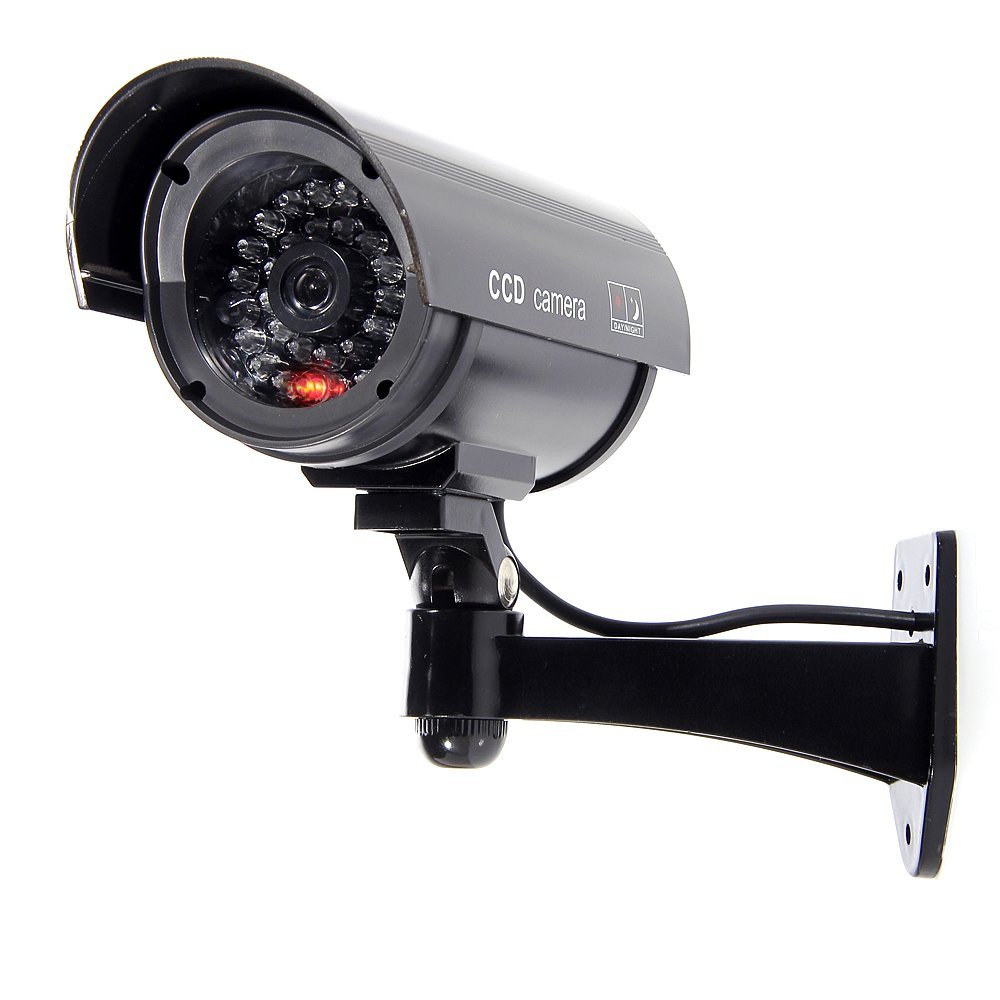
CCTV Camera Housing
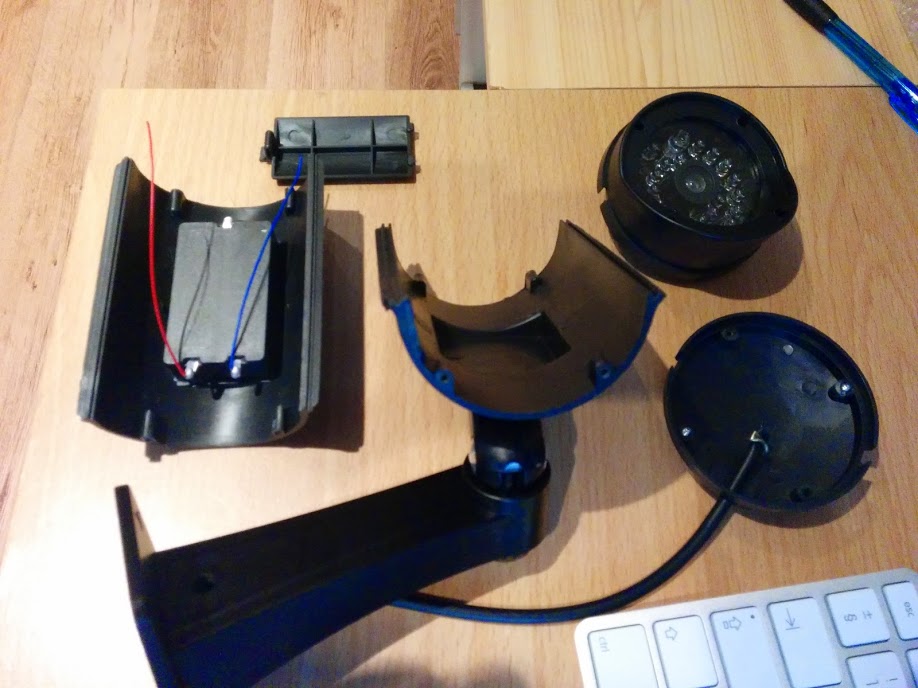
There are various types of dummy CCTV camera housings available due to their popularity as deterrents. The key is finding one that is large enough to house the RPi components. It would also be ideal to be able to dismantle the casing and have somewhere to mount the RPi. Fortunately, I found the perfect dummy CCTV housing which can be taken apart and has a battery compartment which can serve as a mounting point for the RPi.
-
Micro-USB cable
The final component required is a microUSB cable to provide power to the RPi.
Software
Raspbian
For the OS, I'm using Raspbian. Installation is very simple:
- Download a Raspbian image
- Format the SD card to Fat32
-
Clone the image to the SD card, i.e.:
sudo dd bs=1m if=2014-09-09-wheezy-raspbian.img of=/dev/disk4
where
ifandofpoint to the image and the SD card location respectively. -
Update Raspian and software packages:
sudo apt-get install rpi-update
sudo rpi-update
sudo apt-get update
sudo apt-get upgrade
To connect to your local WiFi, edit /etc/wap_supplicant/wpa_supplicant.conf by adding:
network ={
ssid="XXXX"
psk="XXXXX"
}
and replace "XXXX" with the appropriate network ID and passkey.
Motion
The software used to capture video is Motion. This is tailored to the operation of CCTV as video is only recorded when motion is detected. This is important as we do not want to fill our local storage.
Motion is installed using the apt-get package manager:
sudo apt-get install motion
You may need to a download of version of Motion built for the RPi camera module: motion-mmal
After installation, edit /etc/motion.conf such that motion is ran at boot:
# set to 'yes' to enable the motion daemon
start_motion_daemon=yes
Motion's configuration is determined by the file /etc/motion.conf. Here you can set options such as the required resolution, FPS and importantly where to save the captured video to:
target = home/pi/cam
IMPORTANT After setting this target, we need to change the group and owner of this folder such that motion can write to it.
sudo chgrp motion /home/pi/cam
pi@raspberrypi ~ $ sudo chmod -R g+rwx /home/pi/cam
Putting everything together
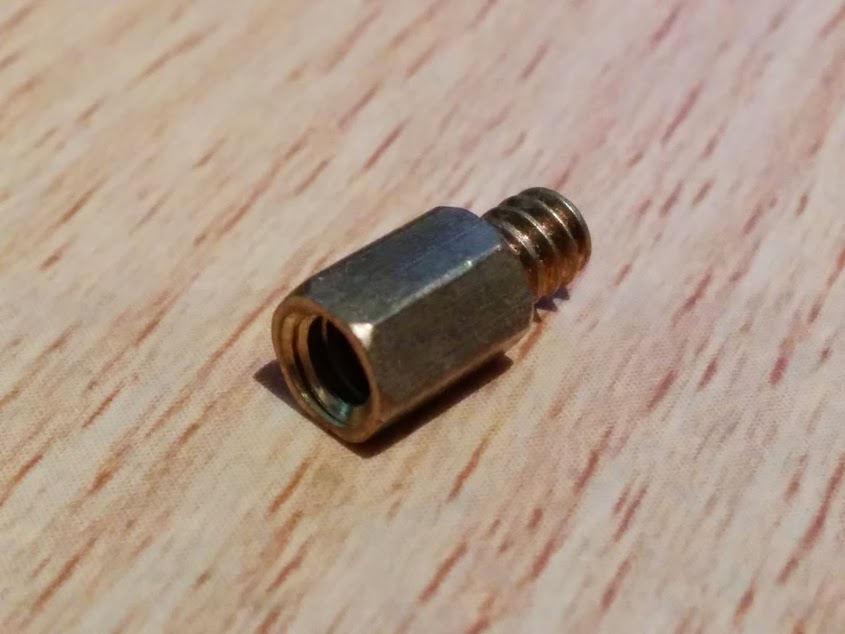
With the hardware and software set up and tested, it is time to put the components inside the housing. As shown previous the dummy CCTV camera comes with a battery holder. This powers a LED at the front of the camera that I removed along with the cables. Using mounting screws (the ones that typically mount motherboards to PC chassis) I was able to mount the RPi centrally in the housing:
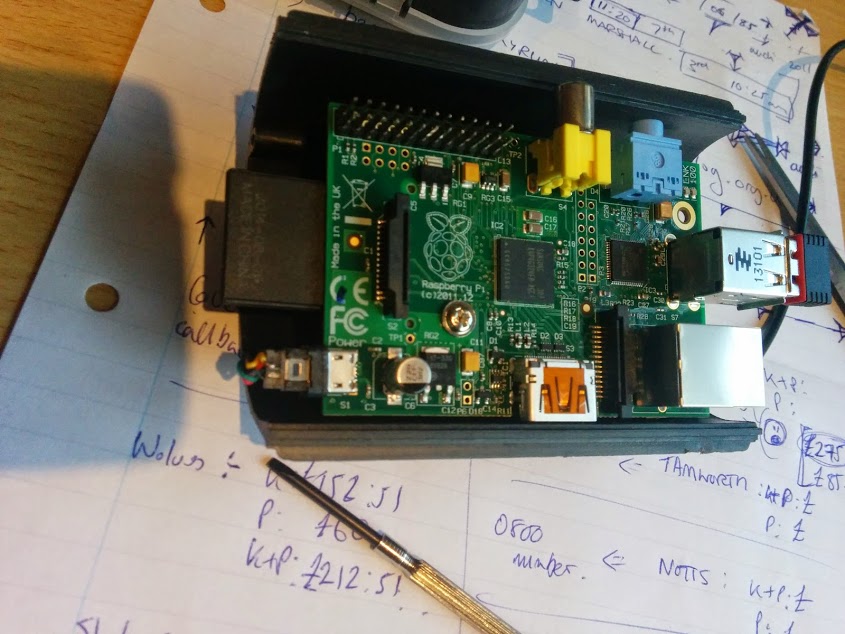
As may be clear from the above, I had to remove the sheathe around the end of the microUSB cable. This was due to a very sharp bend in the cable over a very short distance. Exposing the individual cables made the connection more pliable.
The next big challenge was mounting the camera within the front of the housing. The front of the dummy camera is made up of 3 parts, an outer shell, an inner shell and a lens (circular piece of glass):
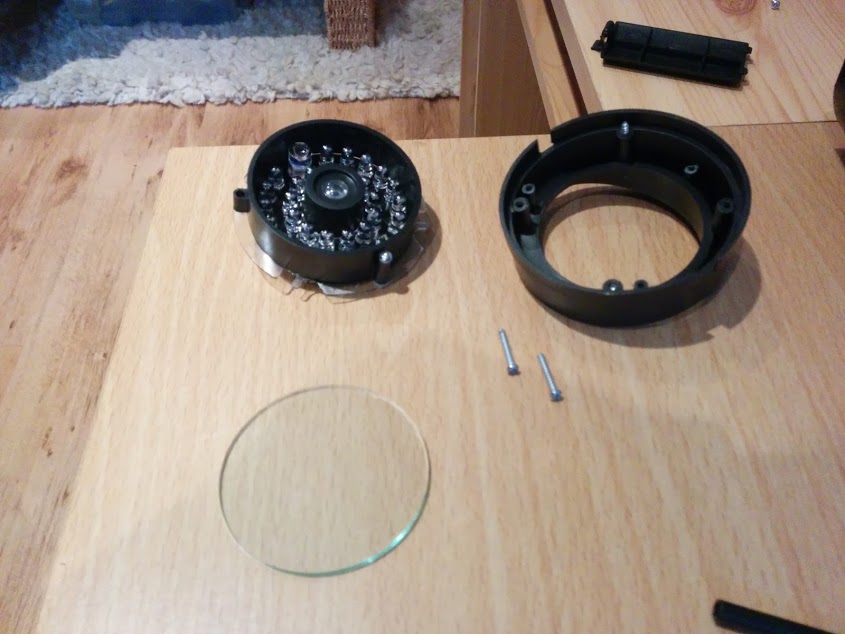
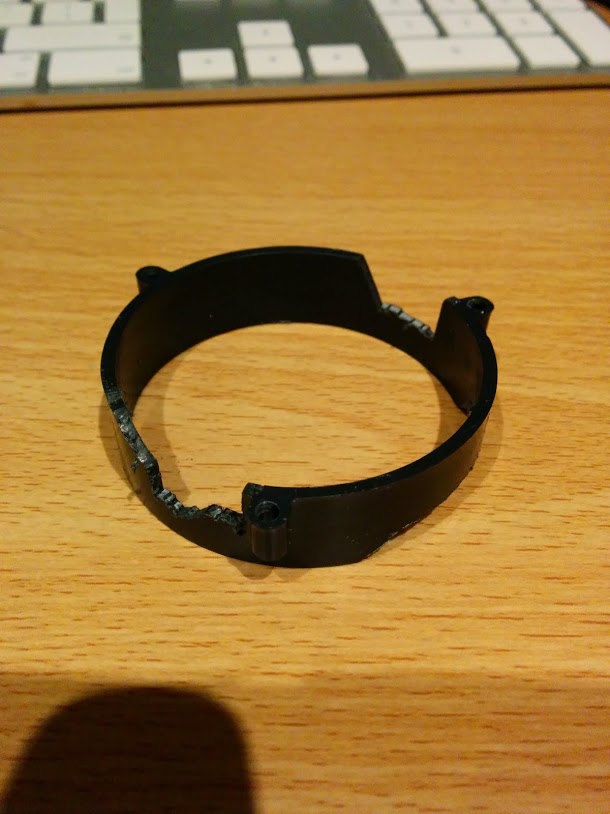
The outer shell and lens would be kept but the inner shell would need significant modifications to fit the RPi camera. Firstly, slots were cut in rim of the inner shell to allow the RPi board to sit closer to the lens. The plastic plate that held the dummy LED was cut to around 40% of its original size and holes drilled in line with the camera modules mounting holds. As the camera module is very delicate, cable ties were used to hold the module in place:
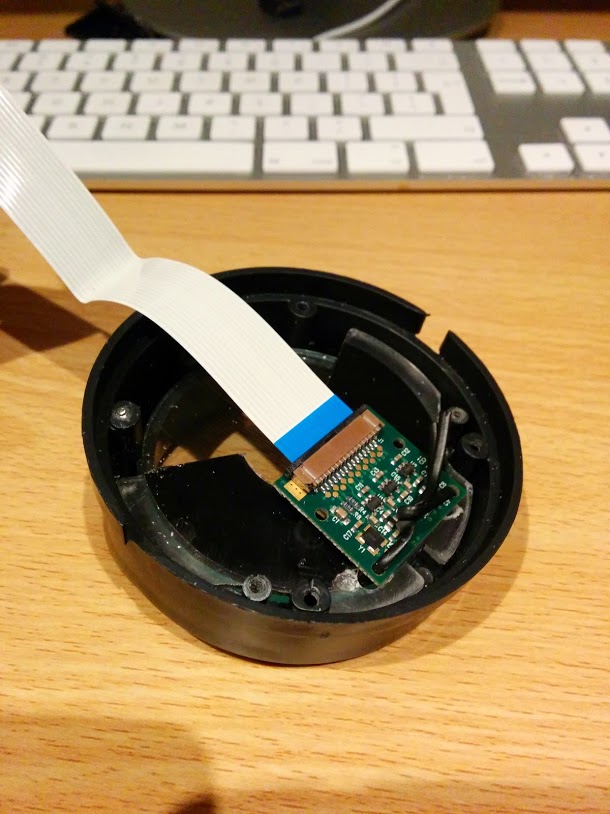
Once reassembled, the camera was very securely held:
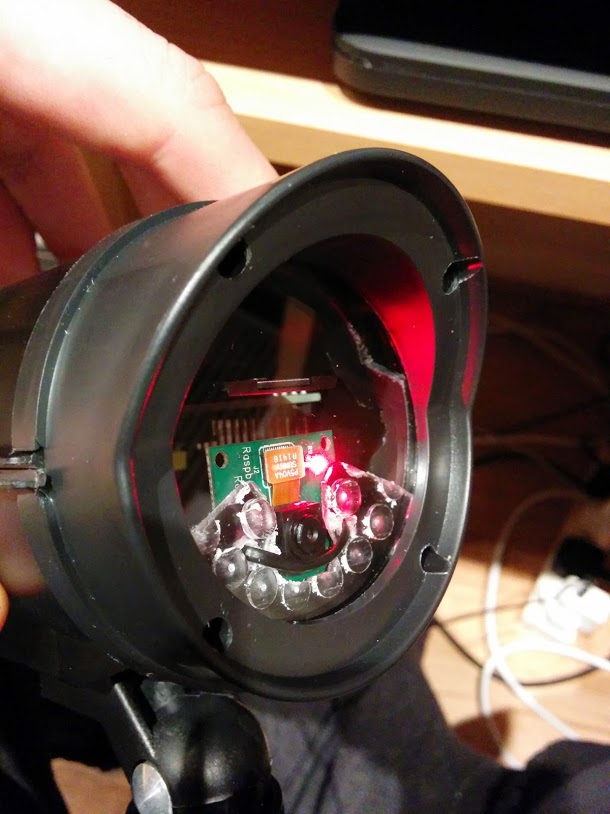
As may be clear from the above, the SD card adapter only just fit and was tight up against the glass lens.
No modifications were required at the back of the camera housing. There was just enough room for the USB WiFI adapter after securely fitting the back plate back on:
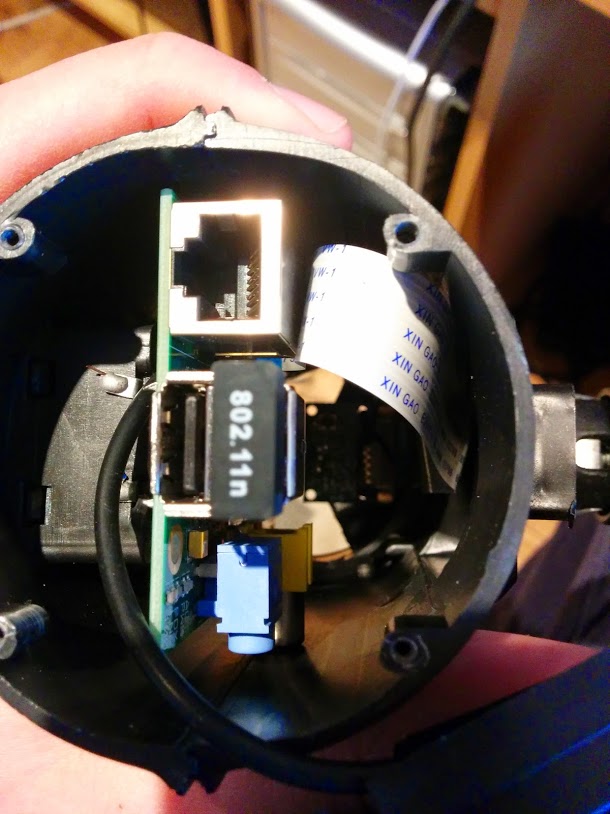
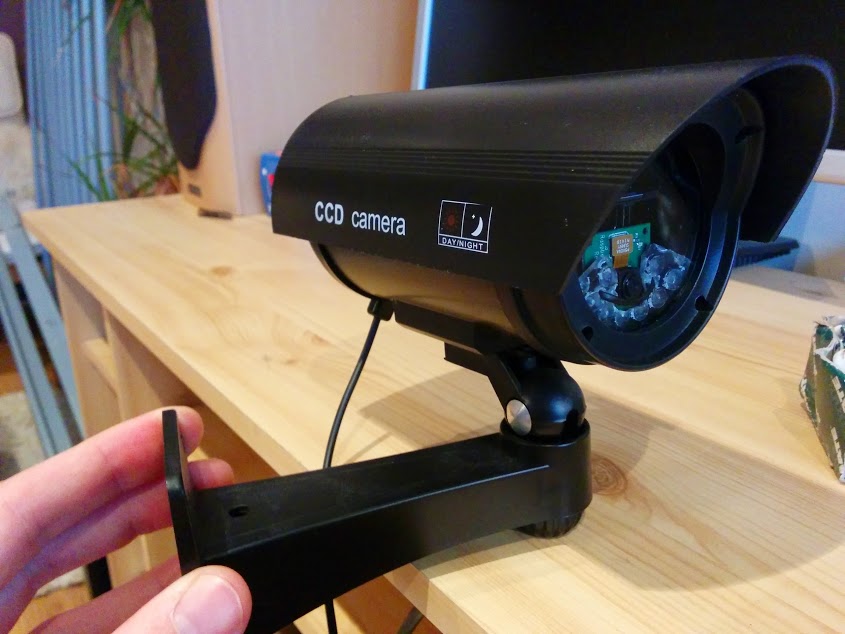
Screwing everything back together and sliding on the hood gives the final product:
Monitoring
The Motion software hosts a webpage where it streams real time video (well multi-part jpeg). To watch the stream use FireFox and navigate to the IP of the camera on port 8080.
To watch video that motion has captured, either SSH into the camera and copy movies across to local storage or setup the camera to save directly to a network drive. This can be achieved by editing /etc/motion.conf.
Hope this provides some insight into a cheap way to build a WiFi-enabled CCTV camera!
Comments